If you’ve been staring at your Dell monitor for hours, feeling that nagging tension in your neck or shoulders, you’re not alone. Many of us underestimate the importance of having our monitor at the right height. But trust me, once you get it right, it’s a game-changer.
Whether you’re working, gaming, or binge-watching your favorite shows, adjusting your Dell monitor’s height can improve your posture, reduce strain, and even boost your productivity. The best part? It’s super easy.
Let’s dive into why monitor height matters and how to adjust your Dell monitor to create a comfortable and ergonomic setup.
Why Proper Monitor Height Matters
Ever heard the phrase, “Look straight ahead, not down”? That’s essentially the golden rule for monitor placement. Here’s why it’s crucial:
- Prevent Neck and Shoulder Strain
- Reduce Eye Strain and Fatigue
- Boost Your Productivity
- Improve Your Overall Well-Being
Understanding Dell Monitor Adjustment Mechanisms
Before we get into the nitty-gritty of adjusting your monitor, let’s talk about the types of stands Dell offers:
1. Tilt-and-Swivel Stands
These stands let you tilt the screen forward or backward and swivel it left or right. However, they usually don’t offer height adjustments.
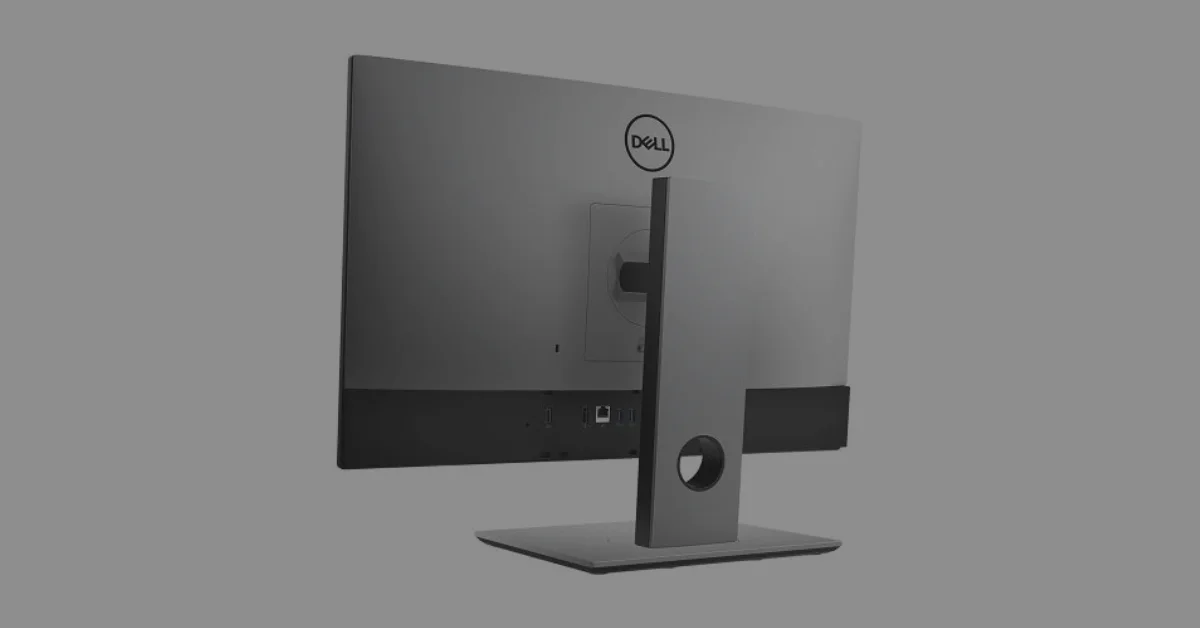
2. Height-Adjustable Stands
Many Dell monitors come with built-in height-adjustable stands, allowing you to raise or lower the screen to your preferred height with ease.
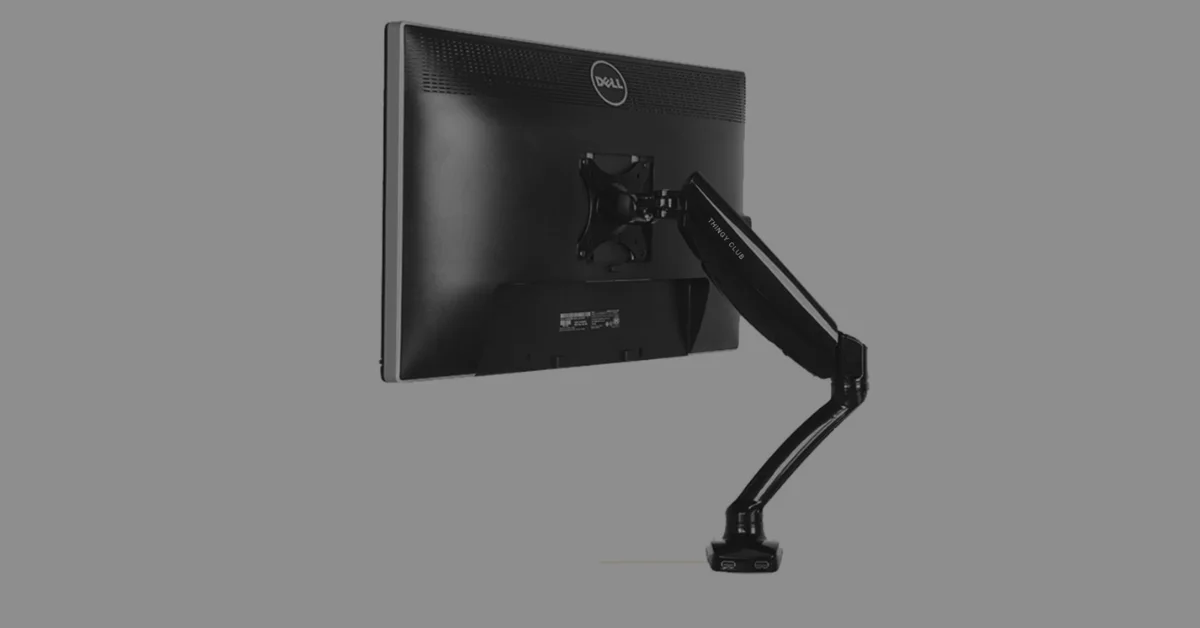
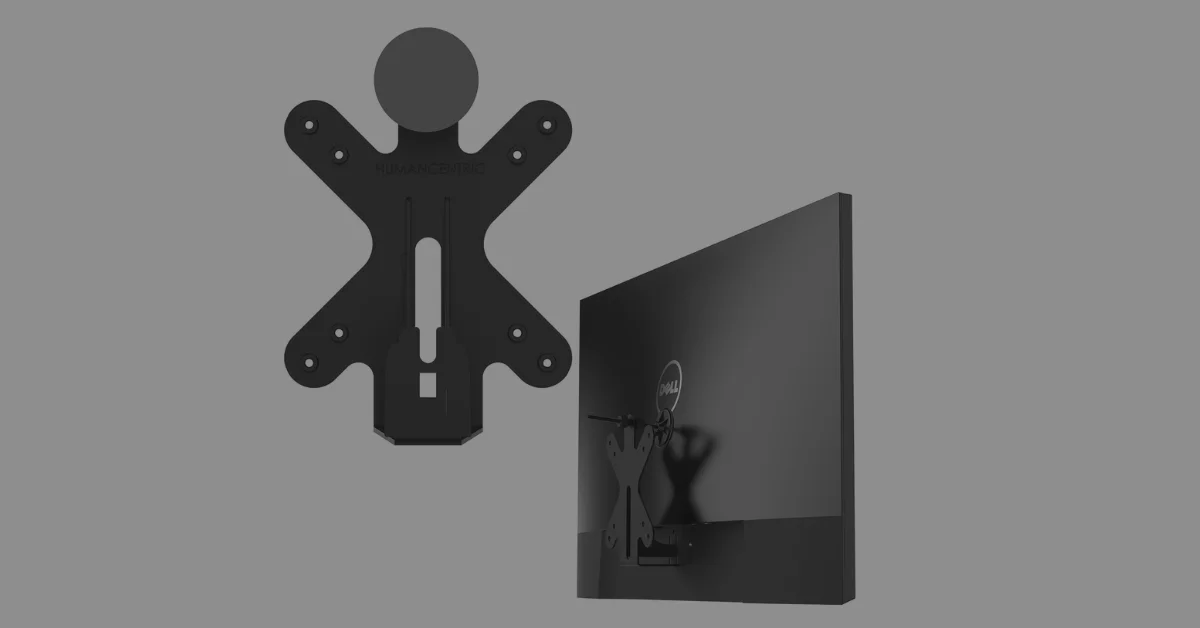
3. VESA Mount Compatibility
Some monitors are designed to work with VESA mounts. These let you attach your monitor to a wall mount or arm for ultimate flexibility.
Now that you know what you’re working with, let’s get into the how.
How to Adjust Dell Monitor Height
Depending on your monitor’s stand or mount type, there are a few ways to get the perfect height:
Scenario 1: Standard Tilt-and-Swivel Stand

www.amazon.co.uk
If your Dell monitor doesn’t have a height adjustment feature, don’t worry. You can still elevate it:
- Grab a sturdy riser or stack of books.
- Place your monitor on top of the riser, ensuring it’s stable.
- Adjust the tilt angle for optimal viewing.
Pro Tip: Use an adjustable monitor riser for more flexibility and a polished look.
Scenario 2: Height-Adjustable Stand

www.dell.com
If your monitor has a height-adjustable stand, follow these steps:
- Locate the adjustment mechanism. This is usually a lever or button at the back of the stand.
- Hold the base of the monitor to keep it steady.
- Press or slide the adjustment mechanism while gently raising or lowering the screen.
- Align the top third of the screen with your eye level for the best posture.
Pro Tip: Make small adjustments and test the height while seated to find your sweet spot.
Scenario 3: Using a VESA Mount

www.amazon.co.uk
For ultimate flexibility, you can use a VESA mount. Here’s how to set it up:
- Check your monitor’s back panel for VESA-compatible screw holes.
- Attach the VESA mount using the screws provided.
- Secure the mount to your desk or wall.
- Adjust the height, tilt, and swivel until the screen is perfectly aligned with your eye level.
Pro Tip: A monitor arm with full motion is ideal if you like to tweak your setup frequently.
Ergonomic Tips for the Perfect Setup
Adjusting your monitor height is just the start. Here are some additional tips to optimize your workspace:
- Maintain an Arm’s Length Distance: Keep your monitor 20-26 inches away from your eyes. This reduces eye strain and helps you focus better.
- Angle Your Screen Slightly: A slight backward tilt (5-10 degrees) aligns with your natural line of sight.
- Control Lighting: Position your monitor perpendicular to windows or use blinds to minimize glare.
- Invest in Accessories: Consider ergonomic tools like a footrest, keyboard tray, or anti-glare screen for added comfort.
- Take Breaks: Use the 20-20-20 rule: every 20 minutes, look at something 20 feet away for 20 seconds.
Learn the process of removing the Dell monitor stand safely & easily, opening doors to wall mounts, monitor arms and a transformed workspace.
Troubleshooting Common Issues
Even with a user-friendly Dell monitor, you might hit a snag or two. Here’s how to tackle them:
1. Stuck Adjustment Mechanism
If your stand won’t budge, check your user manual. Don’t force it—it might require a specific action to unlock. If all else fails, contact Dell support.
2. Uneven Screen Position
Make sure the stand is level. If the screen still tilts, double-check the assembly or use a spirit level to correct it.
3. Limited Height Adjustment
If the stand doesn’t raise enough, consider adding a riser or switching to a VESA mount for more height options.
FAQs
1. How high should my monitor be?
The top third of the screen should be at eye level when you’re seated upright.
2. Can I adjust the height of all Dell monitors?
Not all models have height adjustment. Check your monitor’s specs to see if it has this feature or is VESA-compatible.
3. Is it worth buying a VESA mount?
Absolutely, especially if you want more control over your monitor’s position.
4. How do I clean my monitor stand?
Use a soft, damp cloth to wipe it down. Avoid harsh chemicals to prevent damage.
Final Thoughts
Getting your monitor at the right height might seem like a small detail, but it has a big impact on your health and productivity. Whether you’re using a basic stand, an adjustable one, or a VESA mount, the process is simple and the benefits are massive.
Read: Discover the weight of Dell laptops across their different series.
So, take a few minutes to fine-tune your setup. Your neck, shoulders, and eyes will thank you.